Lab: Developing Activities
Objective
Create an activity (Flow Chart activity) for checking if a user has a manager or not.
- Create an activity with a system code shape that gets the initiator and sets the person object to an activity property named TargetPerson of Type C.Person.
- Check if the TargetPerson has a Manager and write out a message indicating the result to a string property named TargetManager – also, write the results in a text file.
- Compile and publish your activity.
- Create a new flow chart workflow – and add your activity – create one workflow property get data from the activity and write it out in a text file.
Credentials
- User ID: Test
- Password: P@$$w0rd
Steps
-
Start the 20331B-NYC-DC-05 virtual machine. Wait for the virtual machine to display the Desktop.
-
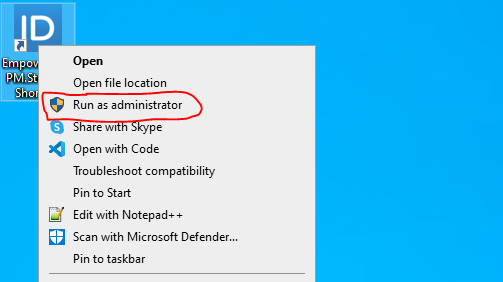
On your Desktop, Right-click Workflow Studio (WFS), and then click Run as administrator.
-
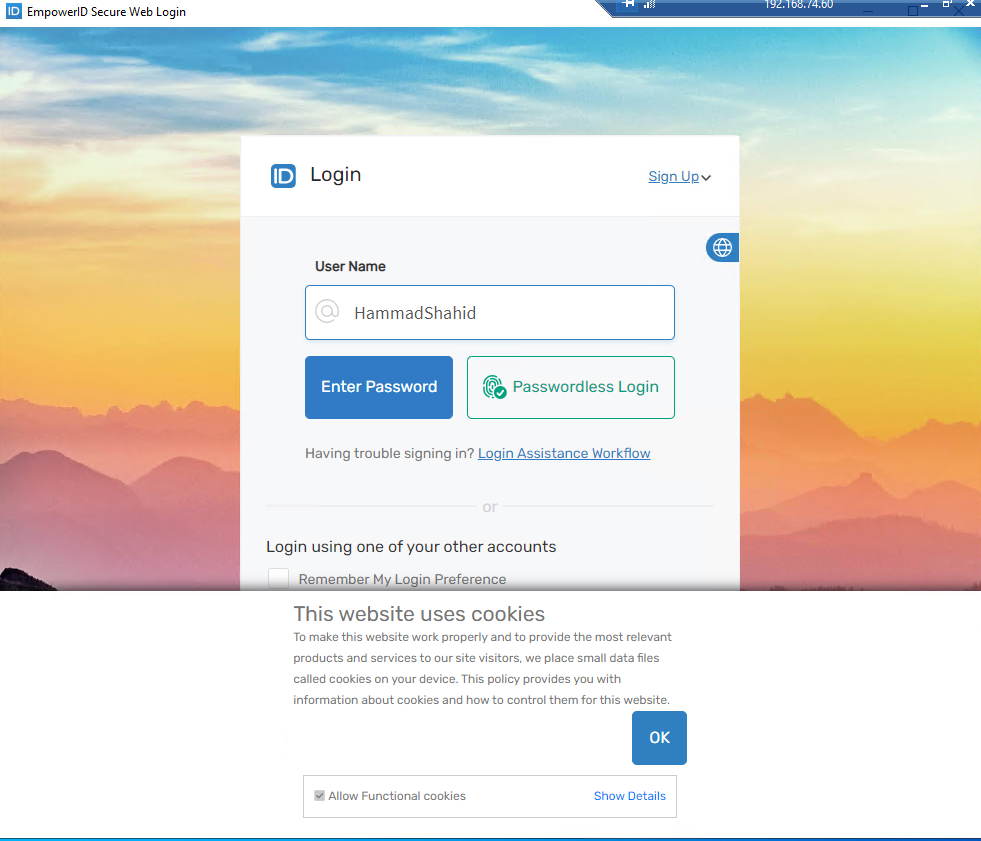
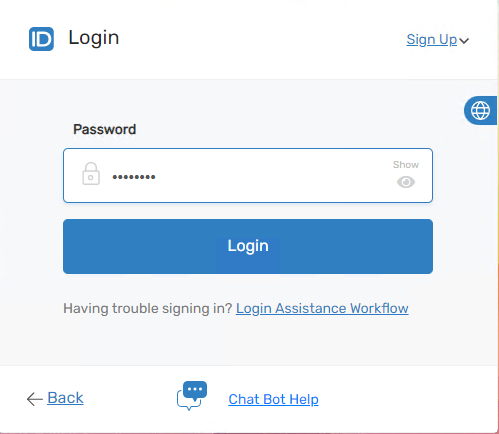
Wait for WFS to start and enter your credentials.
-
In Solution Explorer, right-click on the Developer Packages folder, create a new folder called DemoLabs, and click the Ok button.

-
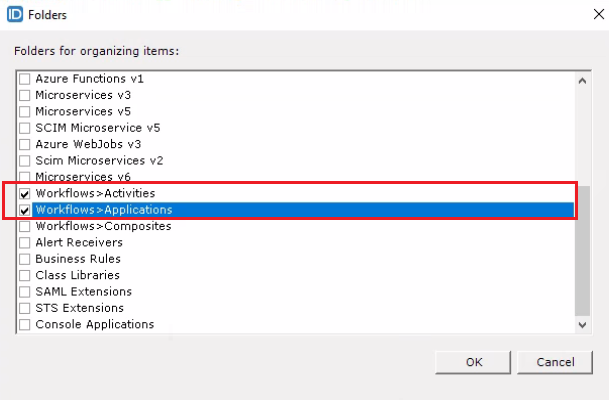
The Add New Folder dialog box will appear. From it, select the following options:
- Workflows > Activities
- Workflows > Applications
- And click the Ok button.
-
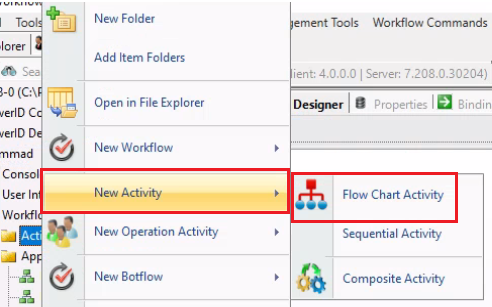
Expand the Developer Packages folder, find the DemoLabs folder, expand it under the DemoLabs folder, expand the Workflows, right-click on the Activities folder, hover your mouse on the New Activity option, and click on Flow Chart Activity.
-
Wait for the Activity designer to be loaded.
-
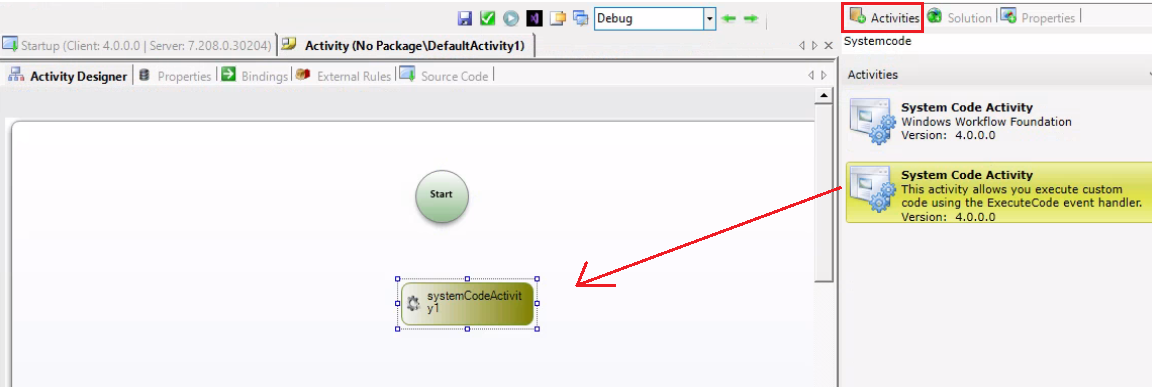
Once the Activity Designer is loaded, go to its properties tab, and from there, search for the System Code Activity. Then, drag and drop it onto the Activity Designer pane.
-
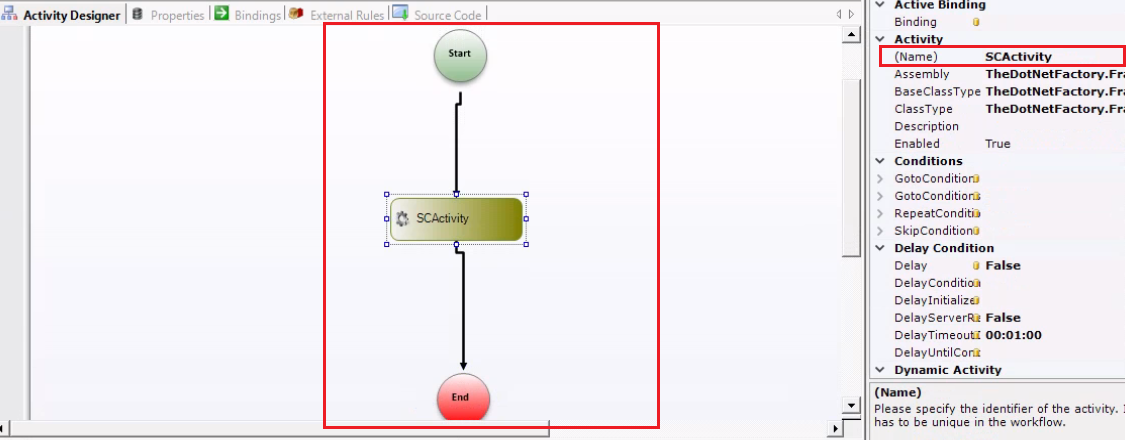
Now, draw lines to connect your activity with the starting and ending circles. Refer to the image below and in the Name property, give any name (e.g., SCActivity).
-
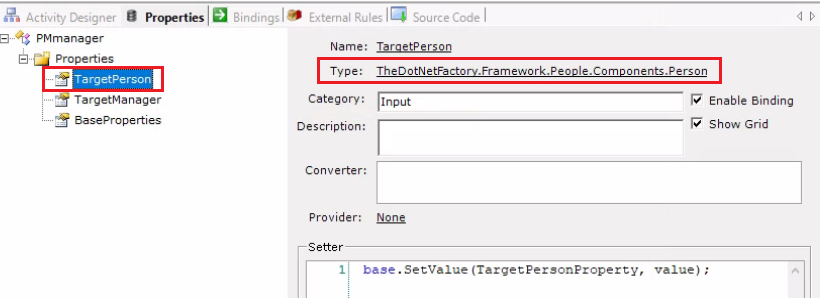
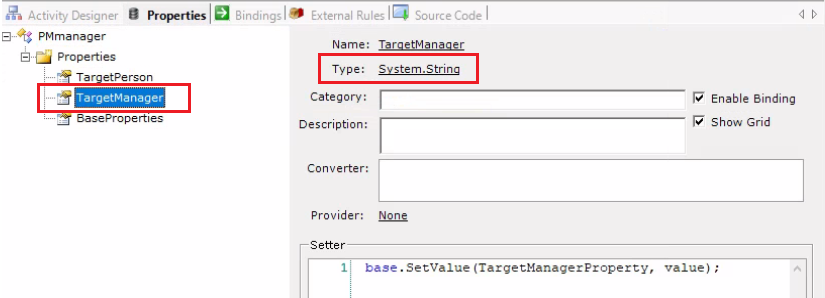
Now, go to the Properties tab of your Activity Designer and create two properties: TargetPerson and TargetManager. The type of TargetPerson should be Person component, and the type of TargetManager should be string.
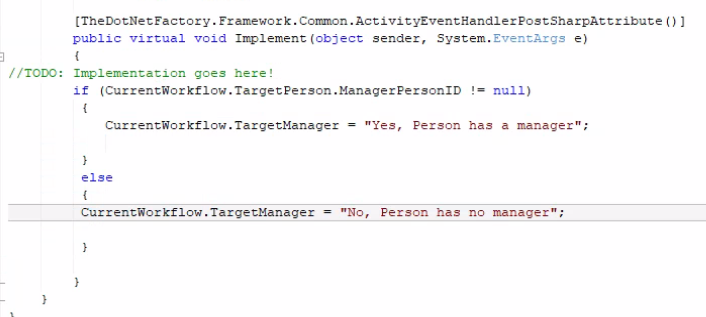
- Now go to the Activity Designer tab and double-click on the SCActivity. It will generate a class for you, and in that class, we have the Implement method. Write the following code in it:
if (CurrentWorkflow.TargetPerson.ManagerPersonID != null)
{
    CurrentWorkflow.TargetManager = "Yes, Person has a manager";
}
else
{
    CurrentWorkflow.TargetManager = "No, Person has no manager";
}
-
Now, click on the Save button at the top to save your activity and name it PMmanager. Once saved, click on the Publish button to publish your Activity.
-
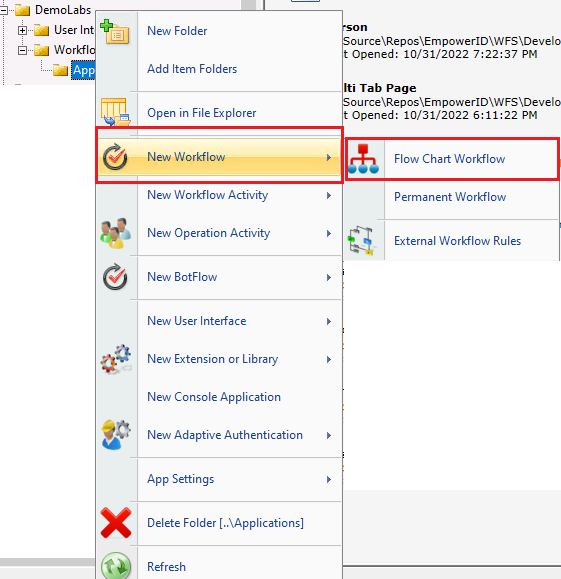
Expand the Developer Packages folder, find the DemoLabs folder, expand it under the DemoLabs folder, expand the Workflows folder, right-click on the Applications folder, hover your mouse on the New Workflow option, and click on Flow Chart Workflow.
-
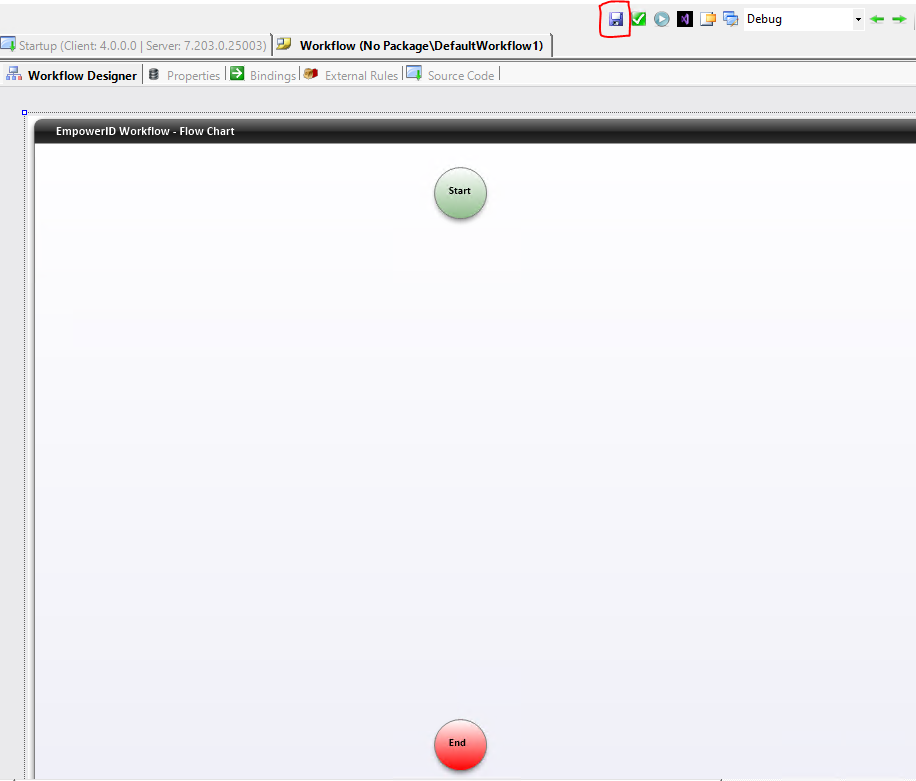
Wait for the Workflow Designer Pane to be loaded. Once loaded, click on the save button to save your workflow.
-
Give your workflow a name. In this case, Training_ActivityWF.
-
Once saved, drag and drop your Activity onto the designer pane of Workflow.
-
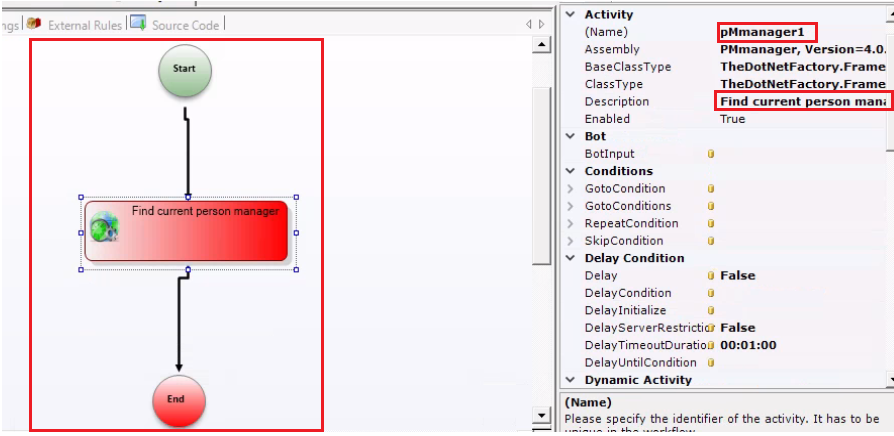
Keep the activity selected. If not selected, then select it, and on the right-hand side, change its (Name) property to pMmanager1 and its Description property to Find current person manager.
-
Now click on the start circle, drag the line from it, connect it with your pMmanager1, and similarly connect the lines that will come out from your activity to the End circle.
-
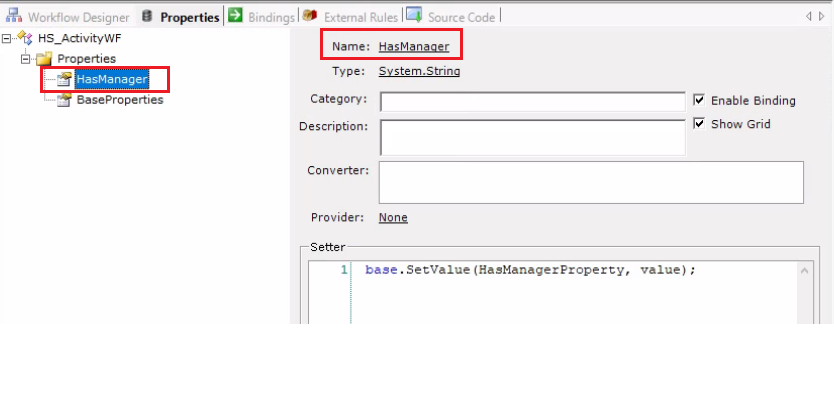
Now, go to the Workflow properties tab and create a property named HasManager of type String.
-
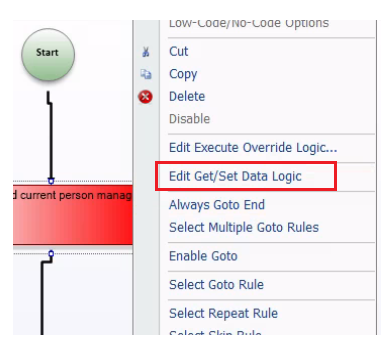
Now go to the Workflow Designer tab, right-click on your Activity (pManager1), and click on Edit Get/Set Data Logic.
-
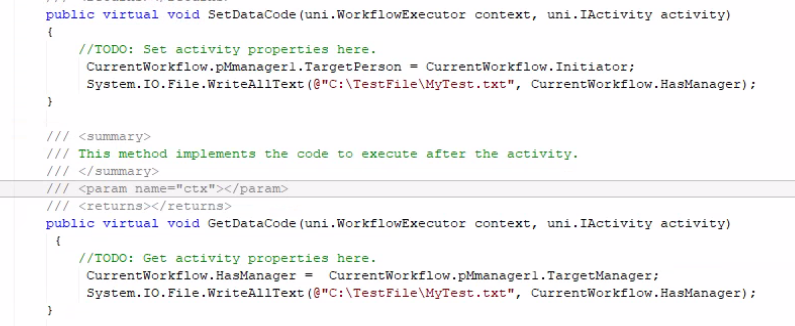
Write the following code in the SetDataCode and GetDataCode methods:
public virtual void SetDataCode(uni.WorkflowExecutor context, uni.IActivity activity)
{
    //TODO: Set activity properties here.
    CurrentWorkflow.pMmanager1.TargetPerson = CurrentWorkflow.Initiator;
    System.IO.File.WriteAllText(@"C:\TestFile\MyTest.txt", CurrentWorkflow.HasManager);
}

/// <summary>
/// This method implements the code to execute after the activity.
/// </summary>
/// <param name="ctx"></param>
/// <returns></returns>
public virtual void GetDataCode(uni.WorkflowExecutor context, uni.IActivity activity)
{
    //TODO: Get activity properties here.
    CurrentWorkflow.HasManager = CurrentWorkflow.pMmanager1.TargetManager;
    System.IO.File.WriteAllText(@"C:\TestFile\MyTest.txt", CurrentWorkflow.HasManager);
}
-
Now click on the Publish button to publish your workflow; a dialog box will appear. Click on the Next button twice. Once saved successfully, click on the Ok button.
-
Publish your Workflow and Activity in the EmpowerID Web UI as well.
-
Run the Workflow and test it. If the user initiating the workflow has a manager, it will return the message "Yes, Person has a manager". Otherwise, it will return the message "No, Person has no manager". You can view the message by accessing the specified path for your text file on your machine.